So you want to see the most spectacular light show in nature, the Auroras. Often called Northern Lights or Aurora Borealis in the north, and Southern Lights or Aurora Australis in the south. It is much easier to catch them in the north rather than in the freezing depths of Antarctica. I wanted to create this post because I learned quite a bit during the process of chasing the lights during our recent trip to Iceland. In this post I will tell you exactly how we ended up seeing the Northern Lights and also what you need to know to make sure you don’t miss them during your next hunt (it’s not just about KP index). So let’s dive in.
The Journey Begins
My desire to see Northern Lights sparked during my first trip to Iceland in 2008. It was a solo trip and I had a lot of fun, but it felt incomplete because it ended without any Aurora sighting. However, all tour companies offer complimentary tickets for future use if there are no sightings on the scheduled tour. Fast forward to the present, since 2024 and 2025 are expected to have high chances of seeing the northern lights due to the solar maximum, this was a great chance to retry. What could be better than 5 days in Iceland in February?
Preparing for the Quest
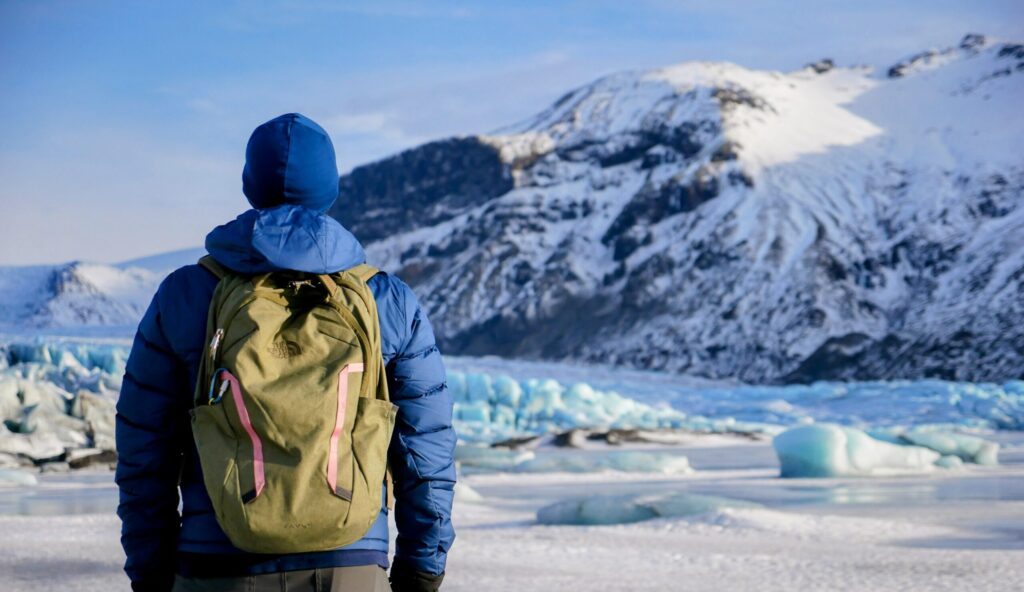
I was quite excited about the trip for many reasons. First, I had been there before so I was already a bit familiar and knew what to expect. Second, Iceland is different in winters. Third, a chance to see the northern lights. I did a lot of research leading to the trip and found out that I need to keep an eye on two sources to improve my chances of seeing the lights:
- The ‘Aurora’ app. It shows the forecast of the lights for your exact location or you can choose a specific location. I will get to the details about the app later.
- Icelandic Met Office. This is the official weather source in Iceland and they also forecast Auroras for next 72 hours (almost).
Ideal Conditions for Viewing Northern Lights
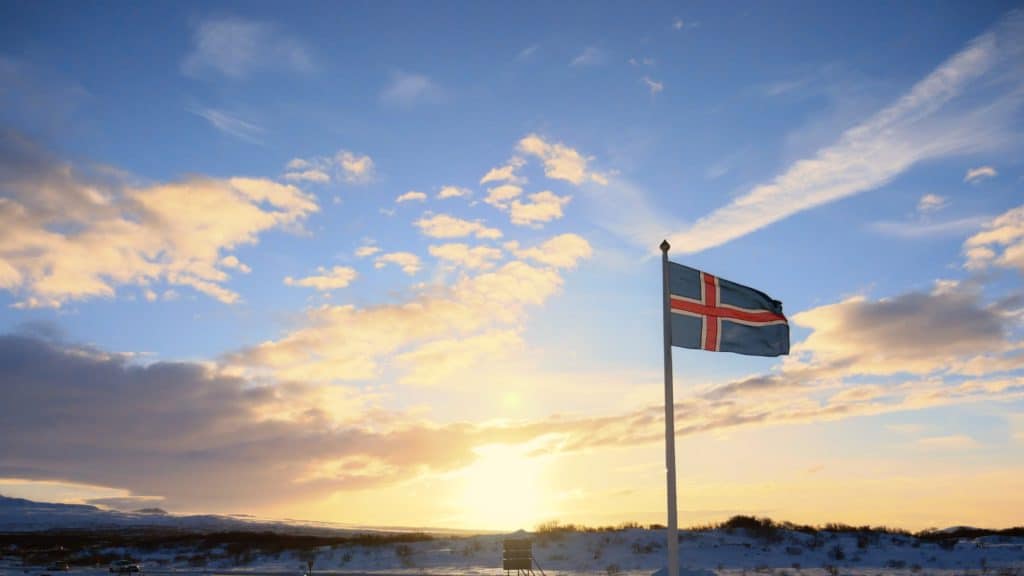
- Location: The ideal location is between 60 to 75 degrees latitude. Although it is possible to see the lights in lower latitude if the solar activity is strong enough. Reykjavik lies in a perfect spot at about 64 degrees North.
- Weather: Clear dark skies. This is mostly ideal in winter months.
- Patience. This is key. You can plan northern light tours, but you will have to keep your options open and keep looking up in the sky and in the Aurora app.
The Northern Lights Journey
Initial Disappointment
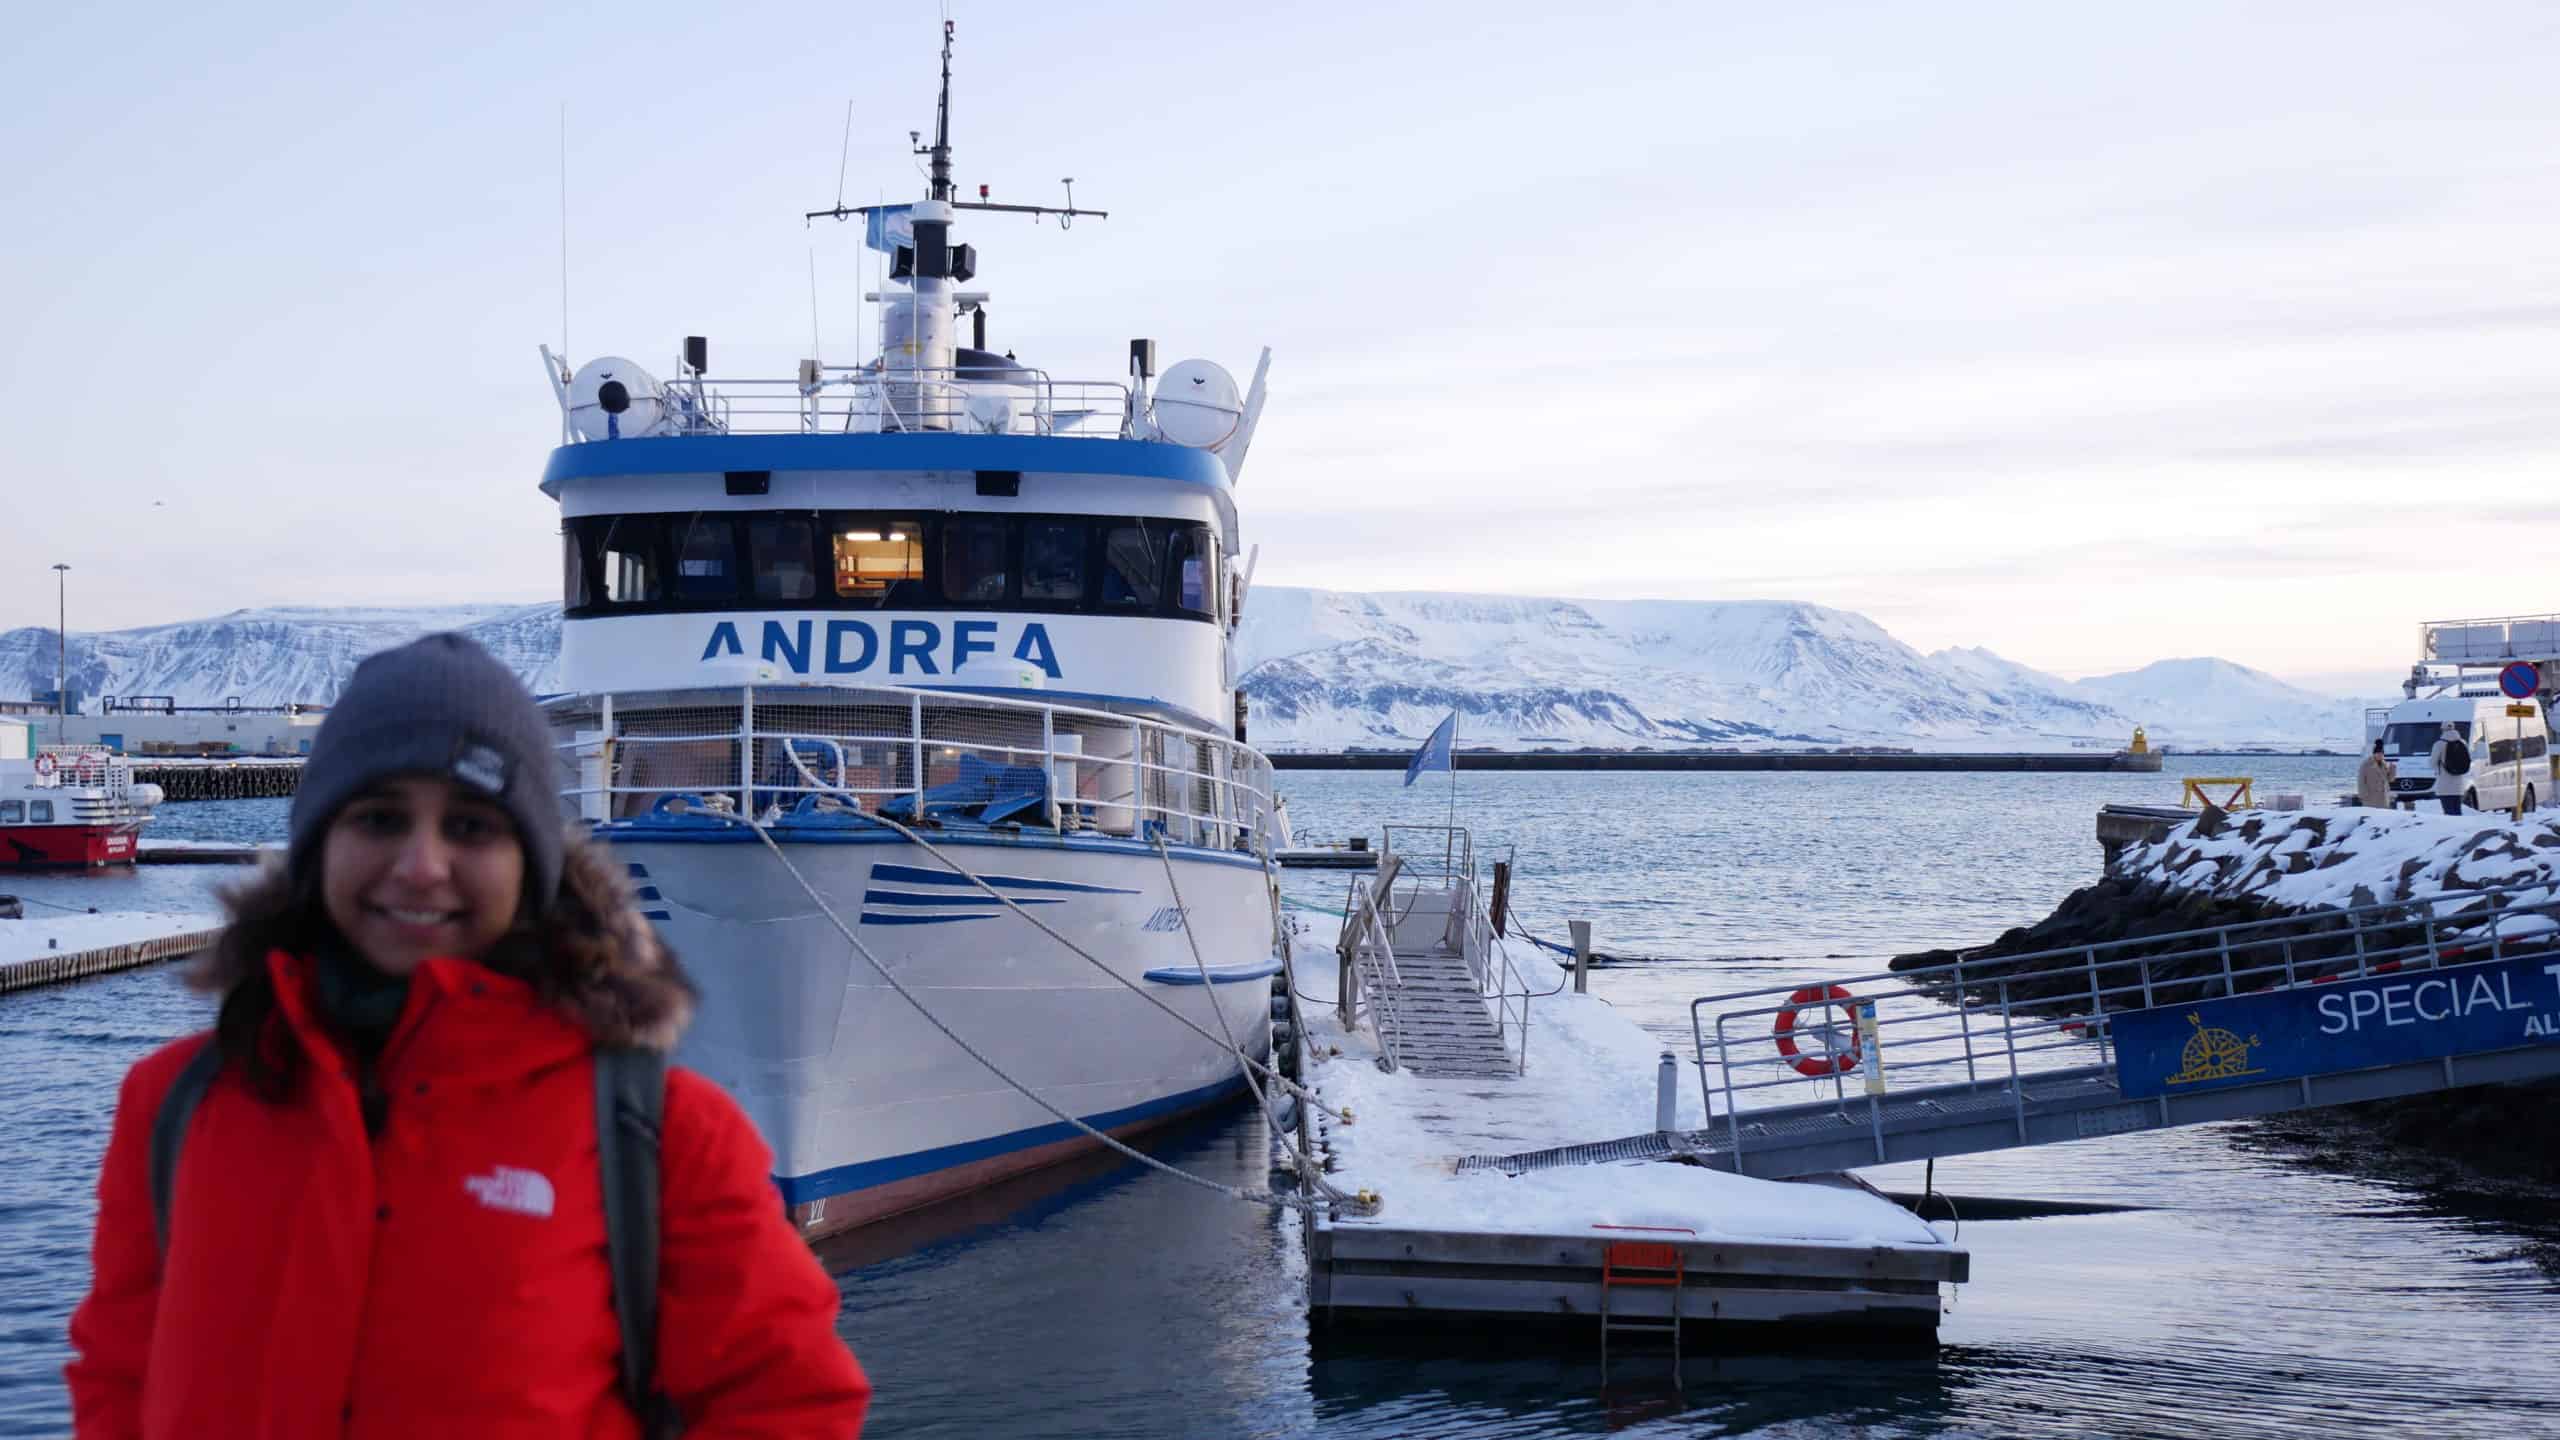
We booked the Nothern Lights Boat tour with Special Tours on the day of our arrival in Reykjavik. The tour starts from the Old Harbour at 9 PM in winters and 10 PM in summers. We were very excited about our boat tour that day until I received the email from the tour company that the tour was cancelled due to bad weather. This was one of the main reasons why we chose to travel to Iceland, and the very first day it felt like the trip was over. I checked the Aurora app and the KP index wasn’t looking great either for that night. We accepted it and moved on with the rest of our trip.
A Glimmer of Hope
The next night we were staying at a farm house at the foothills of Eyjafjallajökull where we met another couple at midnight. They were going out to chase the lights because the forecast was looking great. We gathered our stuff and decided to follow them almost 40 km north towards Hella. We pulled over to a dark road and tried capturing the sky with our cameras. Despite the fact that the viewing probability was over 40%, we couldn’t see anything in the sky. We waited for about half an hour, but still nothing. The probability had started dropping on the app so we just made our way back to the farm house.
Persistence Pays Off
We had two more nights left in Iceland. On the third night, we were staying in Vik. The KP index was looking great, it was reaching upto 5 out of 9. The cloud cover was almost none. Vik is the southernmost town of Iceland, which means the probability was low compared to Reykjavik. We made a committment to chase the lights for next two nights if we have to. Even though the KP index was high, the probability was only 9% at 10 pm. I setup an hourly alarm to check the current status frequently. Hours kept on passing and the probability was only crawling up by a little, it was 12% at about 2 am in the morning.
Then there was the 5 am alarm, I checked the probability which was now at 15%. Still not great, but I decided to check the live cam located in Hella. Yes, the Aurora app has live cams from different places across the world. And there it was, not too bright, but I could see a green arc in the sky above Hella. It was 5 am, I was half asleep and did not want to drive 80 km north.

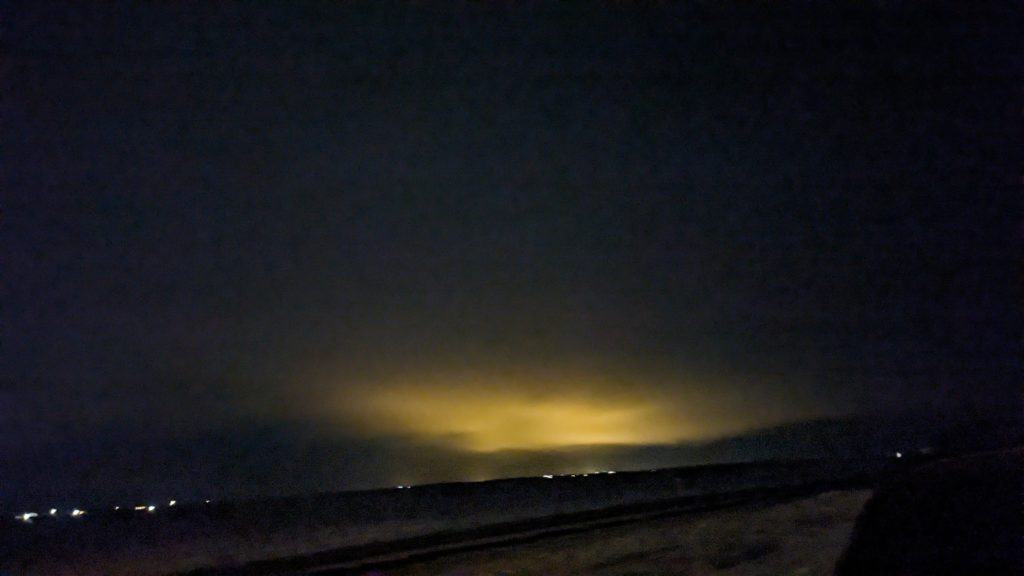
I went out of the hostel, but there was nothing in the sky for the naked eye. I saw some haze towards the north so I pointed my phone and captured a shot with “Night Sight” feature. That was the first time I saw the lights. They got bright enough for me to see the diffused pattern. It wasn’t as bright as I had hoped for, but it was there and I couldn’t complain anymore.
The Final Spectacle
On to our last night in Iceland, which we were going to spend again in Reykjavik. We were checking the Aurora forecast and the KP index was all the way up to 6 for overnight. This was our last chance before we head home next day. We arrived in Reykjavik at around 8 PM and had our dinner. I checked the live cam in Hella and saw the green arc. This was our cue to head out.
There is a spot in Reyjkavik called Northern Lights Viewpoint, it is on the far west corner of the city near a lighthouse. You can easily find it on Google. That’s where we were going, although we soon realized that everyone was going there. As the name suggests, it was apparently a popular place to be for every traveller who wanted to see the lights in Reykjavik.
Pro tip: Turn left a little earlier towards the residential area for parking your car. You might not find a parking spot at the end, because that’s where the action is happening.
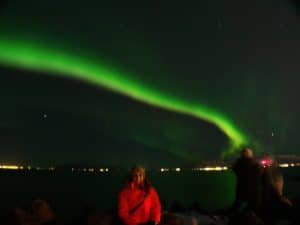
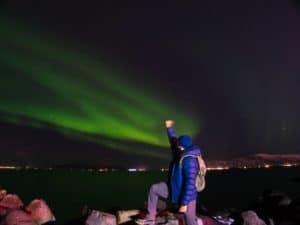
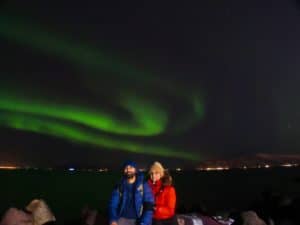
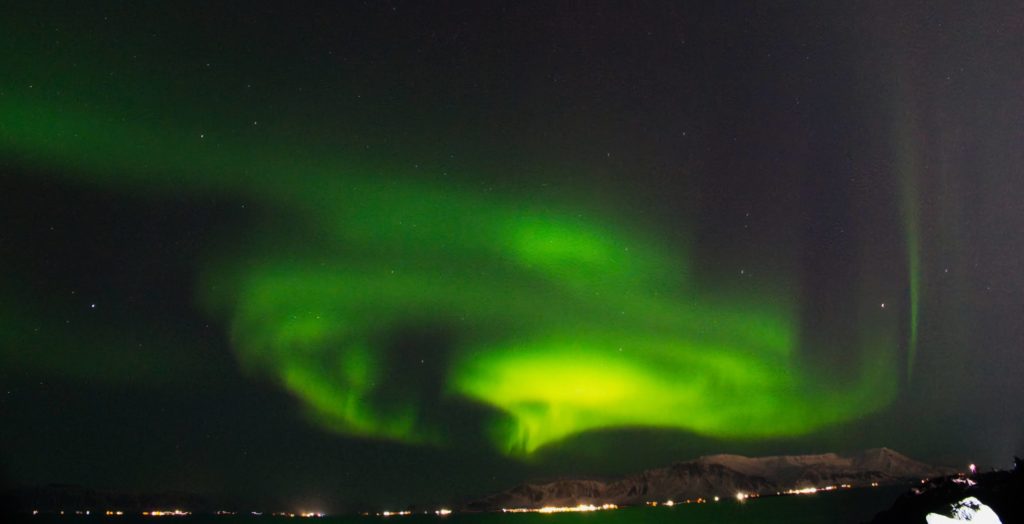
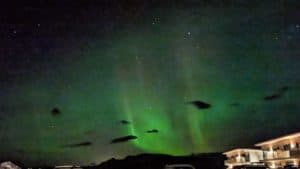
As we walked towards the lighthouse after parking the car, we had to stop before we could reach the end. Right in front of our eyes, the grey haze turned into bright green arc and then some bands. It was bright and it was indeed spectacular. I know exactly how the scientific process forms the northern lights, but they still look totally magical. We spent an hour gazing in the sky on that cold night, admiring the beauty of nature. Our trip to Iceland couldn’t have ended in a better way.
The Aurora App Explained
The Aurora app is one of the best ways to track the northern lights, but it has some technicalities that I did not know prior to my visit to Iceland. Let’s go through each metric and see what they really mean.
- Kp Index: The Kp index describes the disturbance of the Earth’s magnetic field caused by the solar wind. Think of this as the Northern Lights intensity scale. It goes from 0 (quiet) to 9 (extreme storm). In Iceland, you generally want a Kp of 2 or above. The higher the Kp, the more intense the lights might be, and the further south they might be visible. The day we saw northern lights in Reykjavik, the index was 5 so we saw brighter auroras. If the index is 2, then use your phone in night photo mode to capture the sky. Naked eye might not be able to see the colors at lower Kp index.
- Solar Wind Speed (km/s): This measures how fast particles from the sun are blasting towards Earth. A speed around 400 km/s or higher usually means a good chance of seeing the lights dance.
- Solar Wind Density (p/cc): This tells you how tightly packed those solar particles are. Denser is better! Aim for readings above 5 p/cc for favorable conditions.
- Solar Wind Bz (nT): This gets a bit tricky! Bz measures the direction of the magnetic field carried by the solar wind. When the Bz turns negative (southward), it’s like a door opens, allowing more solar particles to interact with Earth’s atmosphere and create auroras. Look for Bz readings below zero.
- Solar Wind Bt (nT): This represents the total strength of the magnetic field carried by the solar wind. Higher values tend to mean more potential for auroral activity.
Your Ideal Aurora App Forecast
To maximize your chances of seeing the Northern Lights in Iceland, try to find a night with:
- Kp Index 2 or higher
- Solar Wind Speed above 400 km/s
- Solar Wind Density above 5 p/cc
- Negative Bz reading
- Higher Bt readings
Important Note: Even if the app numbers look great, remember that clear skies are also super important!
Capturing the Northern Lights
Capturing northern lights does require some tweaking with your camera settings. Auto mode might not work to get the best shots.
Camera: Although the best shots will need some hit and trial method, but here is a general idea of what you need to capture the best northern light photos:
- Tripod
- Wide angle lens
- Aperture: Choose the widest aperture. Anything f/2.8 or wider should be good enough.
- Shutter Speed: 10-15 seconds
- ISO: Play around near 800
- Focus: Set to infinity
Tip: You can also take some great shots even if you divert from these settings. I took many shots are f/9 and 25 seconds shutter speed. They still came out great, but it’s definitely not an ideal choice if you are shooting with a person in the frame. It can get really hard to stay steady for 25 seconds in cold weather.
Cellphones: If you are using your phone to take the shot, then all you really need to do is choose night photography or astrophotography. The name of the setting might be different in different phones, but they do the same thing which is to increase the exposure or shutter speed. If possible, stabilize your phone somewhere so that you don’t have any blurry shots.
Conclusion
Chasing the Northern Lights is an unforgettable adventure. With the right preparation and a bit of luck, you can witness one of nature’s most incredible displays. Enjoy your journey and happy aurora hunting!